Saturday, December 20, 2008

Livewire Vulcan Modulator DIY Expander

Someone once told me, in reference to their skills with a soldering iron: "..I know just enough to be dangerous.."

I liked that, but in my case its far more appropriate to say: "..I know when I see blue smoke I've done a bad, bad thing.."

Luckily in this case, it all worked out just fine. (for now)


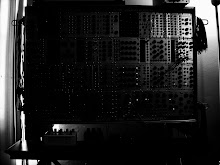
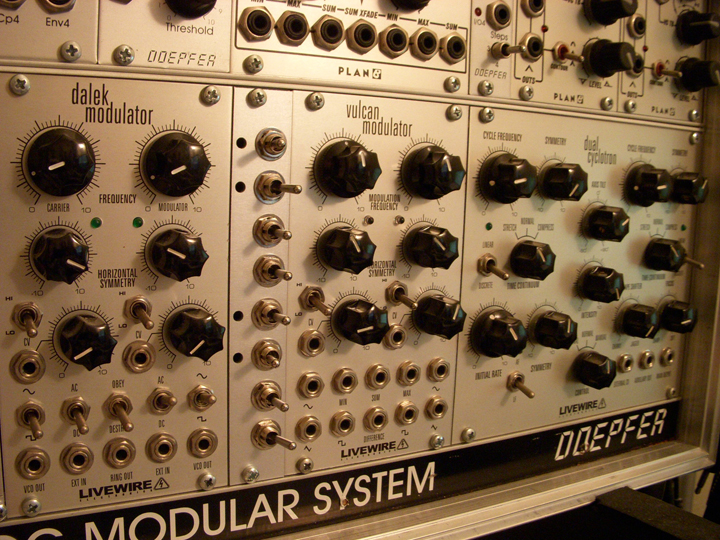
Having owned a Vulcan Modulator since they were first up for grabs @ Analogue Haven back in 2006 I've always appreciated it as a great source for discombobulated modulations and quirky effects. Even using it as two very effective LFOs when the CV inputs are not in use and the attenuators are at zero.


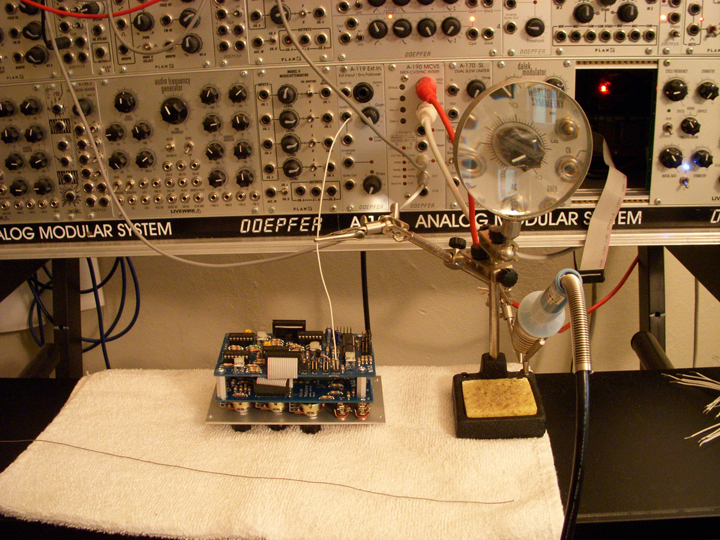
Its greatest feature is of course the Max, Min, Sum & Difference outputs that allow for an even greater palette of choice when it comes to a modulation source. But what I didn't like was having to power down the case, unscrew the module, move the jumpers, place the module back in, power on the case again, let the modules warm back up and THEN see what the combination sounded like. (I never had a long enough power cable to do this procedure  without powering down the case)


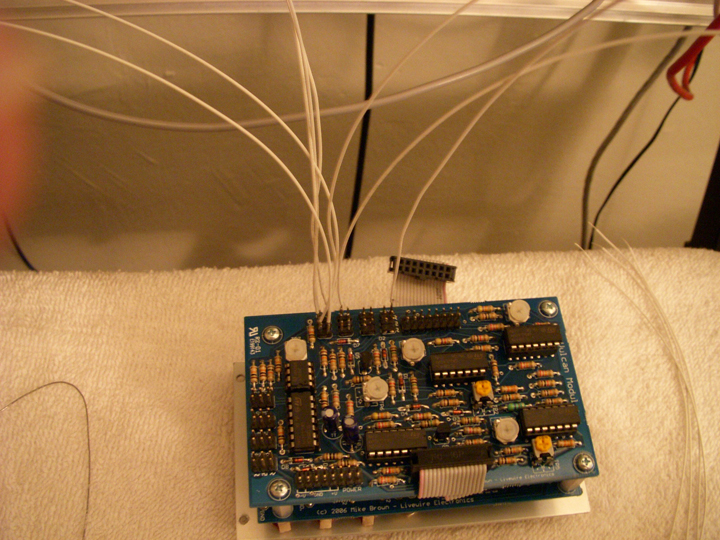
So I took it upon myself to make a small expansion unit to sit beside the Vulcan Modulator that would allow me to switch the waveform mixes around in real time with just the simple option to select either Sine, Triangle or Square waveforms. I remember seeing expanders on either side of one of the Vulcan's Mike Brown had @ NAMM '07. It took some figuring out as to what form factor, what components, etc. to make it possible but it was by no means a very hard task to determine how to do it. The problem laid in connecting all those individual jumper posts without accidently dropping a touch of solder across two making a permanent connection. (had I not known I did it)


As with the Miniwave Euro Kit I spread the task out over a few days so I would lessen my chances of such a screw up. As luck would have it, when the module was placed back in the case and powered on (on a bus board all by its loansome at first, for safety's sake) it lit up and worked like a charm. 


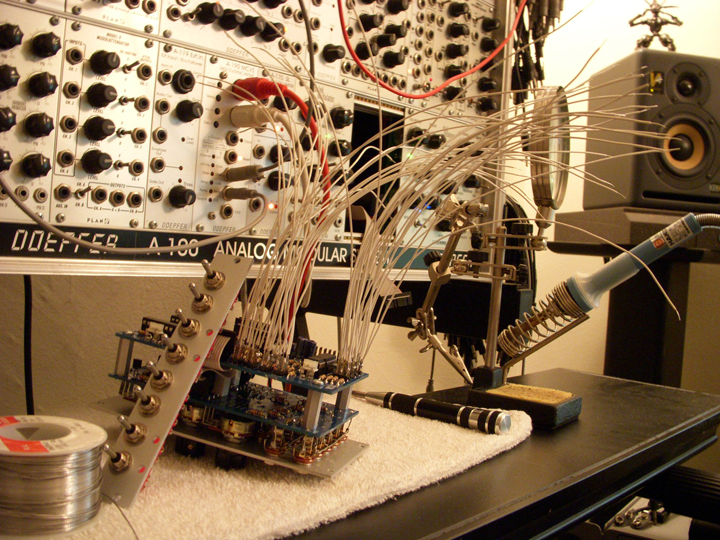
I can now switch the waveforms in real time and have a little more hands on control with the complexity of the modulations to suit whatever mood I find the patch to be going in. Here's a short demo of it working. (warning: TERRIBLE video quality)


I even planned to do a run of simple but up-to-par 4hp faceplates to create kits for others to do that same. But that can not be &  the reasons for it are understandable.  Hopefully soon Livewire will bring out a much better and feature heavy expansion module in the future, I look forward to seeing such a thing.

Monday, December 15, 2008

I only like bubbles in my champagne...

...but for this particular module, i'll make an exception.

So who is this manufacturer anyway? 

BubbleSound has an interesting philosphy in that they use some NOS components (in the case of the module on the block today, the SeM20 V|S|F; we are experiencing the sound of NOS transistors and opamps) in their product. Boutique guitar pedal manufacturers (fuzz pedals in particular) have a penchant for using NOS germanium or silicon transistors to help obtain that vintage feel. So why not the same concept for modules?

I for one have never personally been too attached to the notion of needing a certain piece of gear to capture the sound i'm looking for. Within reason, any able-minded synthesis should have the capacity to create workable sound from any synth with full parameter control that they might have in front of them. 


With that being said I was impressed with the sound quality of the SeM20. Its character was a softer, more rounded color scheme that some of the more harsh and gnarly filters that seem to frequent the eurorack format world. Yet it broke up with a nice grit in the final stages of the input attenuation and frequency knobs rotation.

Each filter modes output sounded good to my ears for its purpose. When combined with the AFG square wave output, (a module which uses 70's era tracing and component techniques) I was impressed with the outcome. It sounded vintage-eque to my ears at least.


The most unique feature from the other eurorack filters is its Notch Balance knob. Giving you, the user; the ability to shift the notch balance closer to either the LP or HP sides of the spectrum. giving a nice phasing sound you hear near the end of the clip above. I really wish it was voltage controllable though. :(

Now that I've said my positives i'll hash out the few, (but still unavoidable) negatives which may or may not concern most users.

1) Their website states that the filter will self oscillate. Mine came unable to achieve this. It might be as simple as a trim pot adjustment but its still worth noting.

2) Something that doesn't impede its sound in the least; its layout, knobs and faceplate font. This little darling is not winning any beauty pageants, thats for sure.  I would have much rather had all the filter outputs across the bottom of the module in a nice even row while all the knobs would be shifted into two, symmetrical columns. That would leave plenty of room for that really nifty CV input for the Notch Balance. (hint, hint)

So there you have it. In the end I find this filter to be a very worthwhile purchase that can add an older (ie: more distinguished) sheen to your fairly modern filter arsenal.