I liked that, but in my case its far more appropriate to say: "..I know when I see blue smoke I've done a bad, bad thing.."
Luckily in this case, it all worked out just fine. (for now)
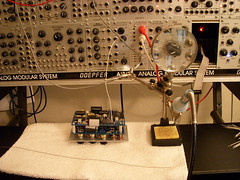
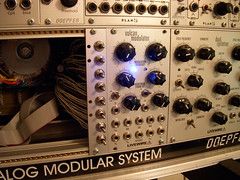
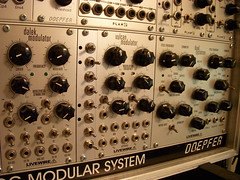
Having owned a Vulcan Modulator since they were first up for grabs @ Analogue Haven back in 2006 I've always appreciated it as a great source for discombobulated modulations and quirky effects. Even using it as two very effective LFOs when the CV inputs are not in use and the attenuators are at zero.
Its greatest feature is of course the Max, Min, Sum & Difference outputs that allow for an even greater palette of choice when it comes to a modulation source. But what I didn't like was having to power down the case, unscrew the module, move the jumpers, place the module back in, power on the case again, let the modules warm back up and THEN see what the combination sounded like. (I never had a long enough power cable to do this procedure without powering down the case)
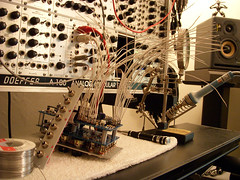
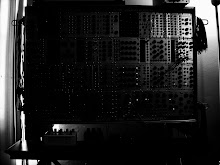
So I took it upon myself to make a small expansion unit to sit beside the Vulcan Modulator that would allow me to switch the waveform mixes around in real time with just the simple option to select either Sine, Triangle or Square waveforms. I remember seeing expanders on either side of one of the Vulcan's Mike Brown had @ NAMM '07. It took some figuring out as to what form factor, what components, etc. to make it possible but it was by no means a very hard task to determine how to do it. The problem laid in connecting all those individual jumper posts without accidently dropping a touch of solder across two making a permanent connection. (had I not known I did it)
As with the Miniwave Euro Kit I spread the task out over a few days so I would lessen my chances of such a screw up. As luck would have it, when the module was placed back in the case and powered on (on a bus board all by its loansome at first, for safety's sake) it lit up and worked like a charm.
I can now switch the waveforms in real time and have a little more hands on control with the complexity of the modulations to suit whatever mood I find the patch to be going in. Here's a short demo of it working. (warning: TERRIBLE video quality)
I even planned to do a run of simple but up-to-par 4hp faceplates to create kits for others to do that same. But that can not be & the reasons for it are understandable. Hopefully soon Livewire will bring out a much better and feature heavy expansion module in the future, I look forward to seeing such a thing.


2 comments:
I would have totally bought one of those kits... I was just thinking about a way similar to this... I got no space left in that case, and was going to put switches on the spacer.
So do they have a common ground? How did you wire it up? Care to share a simple schematic? I don't want to mess up this module. :)
Kit and assembled module is now available from Intellijel Designs Inc.
It also includes independent LFO reset jacks, and external inputs to the SUM/DIFF/MAX/MIN circuits!
Pre-order info here:
http://www.muffwiggler.com/forum/viewtopic.php?t=11371
Post a Comment